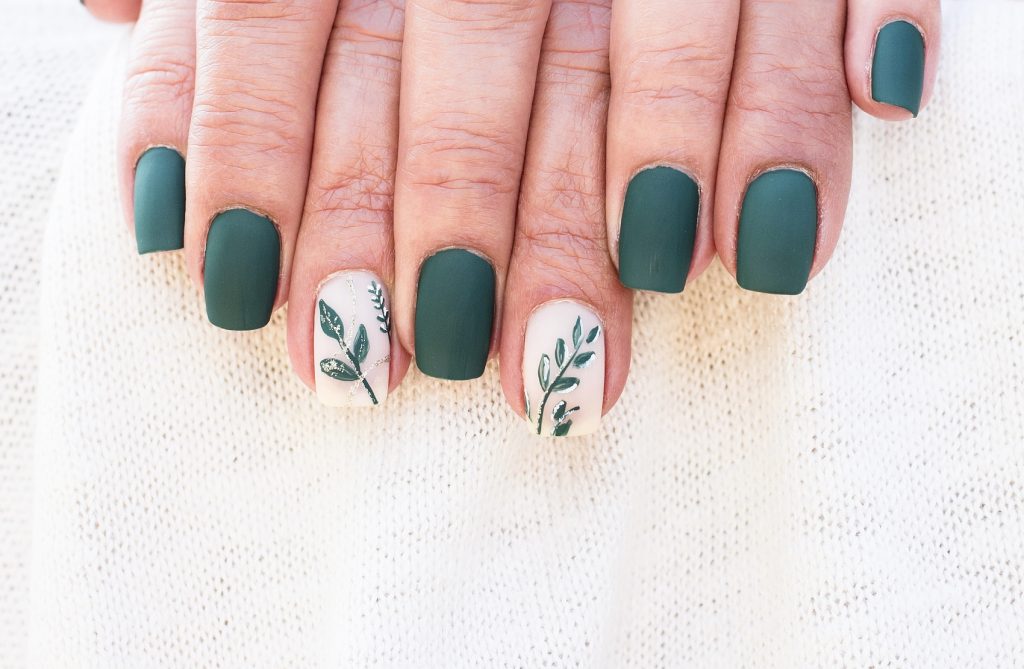
Introduction: There’s a new trend in town that’s making waves in the fashion world: leafy graphics nails. Inspired by the beauty of nature, these delicate leaf patterns can be tailored to match any outfit or occasion. No matter if you’re in college, at work, or still in high school, sporting leafy graphics nails is a surefire way to stand out.
Stand Out in Style: Picture walking into your school or workplace with your nails showcasing intricate leafy patterns. The vivid colors and detailed designs are bound to catch everyone’s eye. It’s not just about keeping up with the trends; it’s about expressing your unique style and personality.
At work, leafy graphics nails can add a touch of creativity and sophistication to your professional look. They offer a subtle way to show off your personal style without compromising your professional image.
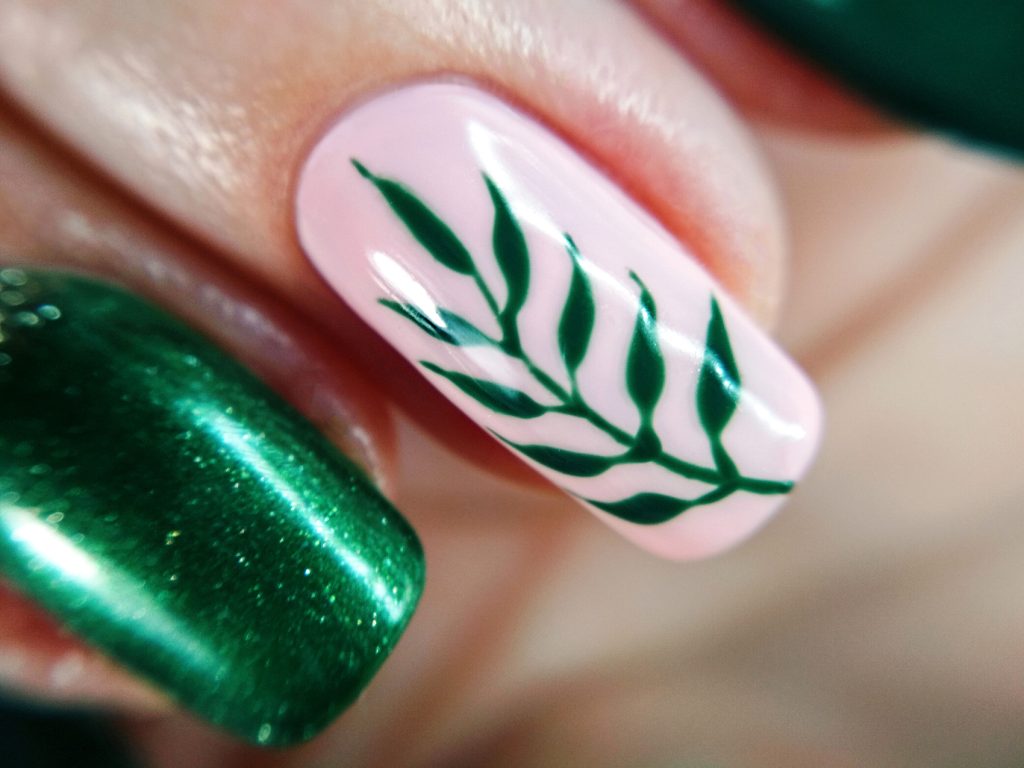
Dress to Impress: Matching your outfit to your leafy nail art can enhance your overall look. For a casual day at school or college, pair your leafy nails with a floral dress or a botanical-themed top to create a cohesive and fashionable outfit.
For the office, opt for solid colors that complement your nails’ color palette. Leafy graphics nails look particularly striking against a black or white backdrop. Throw in some matching accessories, and you’re all set to make a stylish statement at work.
DIY Leafy Graphics Nails | A Step-by-Step Guide: Creating your own leafy graphics nails at home can be a fun and creative activity. Here’s how to get started:
Gather Your Materials: Before you begin, make sure you have:
- A base coat to strengthen your nails and improve polish adherence.
- Your favorite nail polish colors that will contrast with the leafy pattern.
- A fine brush to intricately draw the leaf designs.
- A top coat to add gloss and protect your design.
Apply the Base Coat: Clean your nails, then apply a base coat. This step prevents staining and helps the polish adhere better. Allow the base coat to dry completely before moving on.
Apply the Nail Polish: Next, apply two coats of your chosen nail polish. This color will serve as the background for your leafy design. Allow each coat to dry thoroughly before adding the next.
Create the Leafy Design: Now comes the fun part: drawing the leaf pattern. Use the fine brush dipped in a contrasting nail polish to draw leaves on each nail. Feel free to vary the designs across different nails for a more dynamic look. Embrace the creativity—the beauty of leafy graphics nails lies in their uniqueness.
Seal the Design with a Top Coat: Once you’re happy with your design and it’s dried completely, apply a top coat. This seals in the design, adds a glossy finish, and protects your nails, extending the life of your artwork.
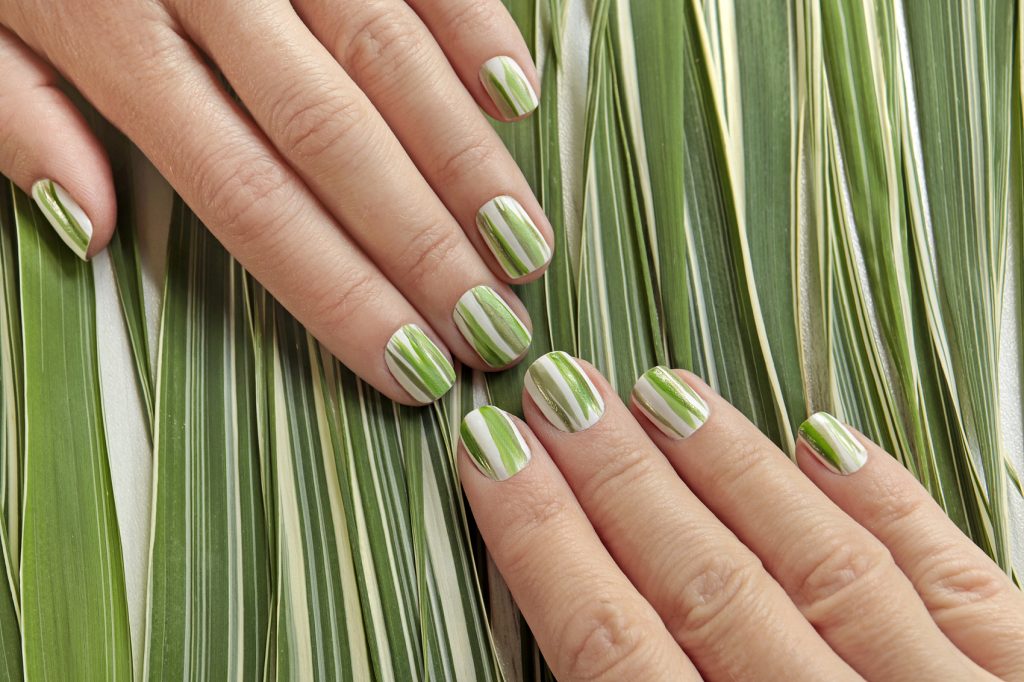
Now, your leafy design nails are ready! Remember, practice makes perfect. Don’t be discouraged if your first try doesn’t turn out as expected. With a bit of practice and creativity, you’ll soon be crafting stunning leafy designs that will make you the talk of the town.
Conclusion: Leafy nail art is more than just a passing trend—it’s a fun way to express your fashion sense and creativity. So, why wait? Embrace this style and let your nails do the talking. Fashion is all about having fun and feeling confident, so experiment with different patterns and colors. And don’t forget to share your fabulous leafy graphics nails on social media. After all, good things are meant to be shared!

