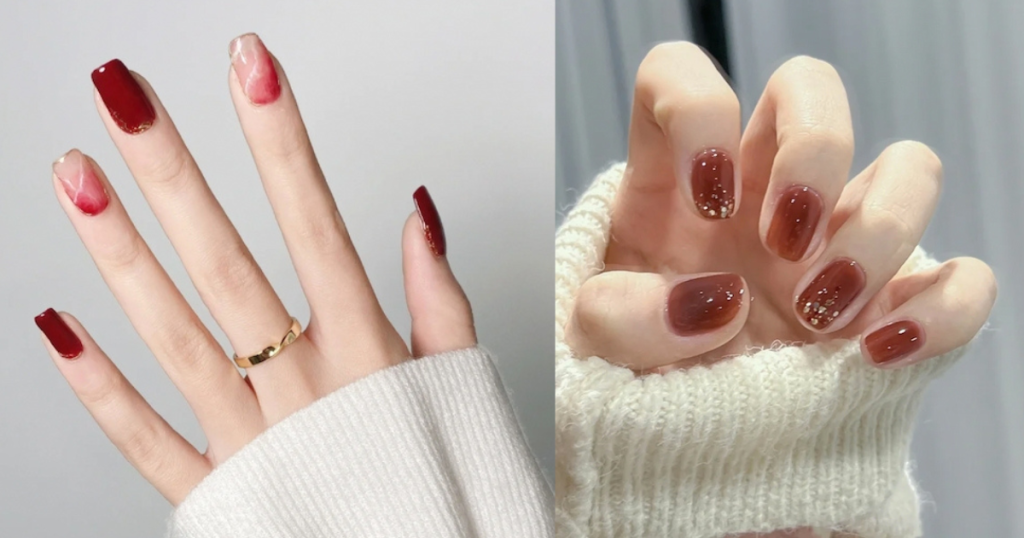
People often say that DIY projects never turn out as good as the professional stuff, but I’m here to tell you that’s nonsense! With the right tools and a little know-how, you can give yourself a manicure just as good as what you’d get from an expensive nail salon. Trust me, I used to think DIY nails were a waste of time.
But after getting tired of dropping $50 every other week, I decided to give it a shot. If you want to save some cash AND step up your nail game, keep reading! I’m about to share all the secrets the pros don’t want you to know.
By the time we’re done, you’ll be giving yourself manicures so good even salon pros will be jealous. Ready to learn how to do your nails like a pro, without spending a dime? Let’s get started!

Essential Tools
First things first—let’s talk about the tools you’ll need. Just like you wouldn’t paint a masterpiece without the right brushes, the same goes for your nails. Here’s what you’ll need:
- Nail polish remover (opt for non-acetone for a gentler approach)
- Cotton swabs or pads (because mistakes happen)
- Nail clippers
- An emery board (avoid metal or super coarse files)
- Nail buffer, cuticle pusher, and nippers
- Callous/cuticle remover
- Hand/nail moisturizer (hydration is key!)
- Base coat, nail polish, and a clear topcoat—the essentials for a perfect manicure
Step-by-Step Instructions
Pre-Manicure Rituals Before you start painting, you need to prep your nails. First, remove any old polish with a regular remover, but don’t overdo it—you don’t want to dry out your nails. Dry nails are more prone to cracking. If your nails are a little rough around the edges, now’s the time to smooth them out. File them down while they’re bare, making sure to go in one direction to keep them even. As for shape, a soft curve or a rounded square is always a safe bet—they look good on almost everyone.
Soak and Soften Next, soak your fingertips in warm water mixed with a bit of gentle face cleanser or shampoo for about three minutes. For a little extra pampering, add some cuticle oil, olive oil, or body lotion to the water. This will soften your cuticles and nails, getting them ready for the next steps.
Cuticle Care Apply your callous or cuticle remover to any thick skin around your nails. Push your cuticles back gently rather than cutting them—they’re there for a reason, after all.
Moisturize Now, grab your favorite body butter, moisturizing balm, or oil, and really work it into your hands and cuticles. Make sure everything is soft and hydrated.
Polish Prep Wipe down your nails with a bit of nail polish remover to get rid of any oily residue. This step might seem small, but it makes a big difference in how well your polish goes on and stays on.

Painting 101
Start with a base coat to protect your nails. Then, apply your favorite color—slow and steady wins the race. Use three strokes per nail and wait a couple of minutes between each coat. Once you’re done with the color, seal everything with a clear topcoat to make your nails shine like they were done at a fancy salon. And there you go! You’ve got fresh, polished nails without spending a fortune.
The Secret Tip
Ever heard of gel nail polish strips? They’re like a better version of press-on nails. All you do is stick them on your nails—no drying time required. They give you an instant manicure, and since they’re gel, they last for about two weeks without chipping or smudging.
I know it sounds too good to be true, but trust me, these strips are amazing. No more waiting for wet polish to dry or dealing with brush strokes. Just stick them on and go—how easy is that?!
Maintenance Is Key
Keeping your nails looking good takes a little regular upkeep. Moisturize often and touch up your topcoat every few days. Let’s be real—who has time to do a full manicure every single week? A few minutes here and there to apply some lotion or another layer of polish will keep your nails looking fresh. With a little bit of care, your nails will stay fabulous without breaking the bank.

Wrap-Up
And there you have it—salon-quality nails in 30 minutes or less, all from the comfort of your home. It’s all about having the right tools and knowing the tricks of the trade.


