In a world filled with mass-produced fashion, there’s a growing desire to make our wardrobes feel more personal and unique. Enter the world of DIY (Do-It-Yourself) fashion, where ordinary pieces are transformed into something extraordinary.
This guide explores how you can elevate basic wardrobe staples into stylish, one-of-a-kind pieces that reflect your personal style while also embracing sustainable and mindful fashion. And for those looking to add a little extra flair, custom t-shirts can bring a unique touch to your collection.
Why DIY Casual Fashion Is So Appealing DIY casual fashion allows you to go beyond the limits of store-bought clothes. It’s all about taking simple items and adding your own creative twist to them. Whether you’re an experienced DIYer or just getting started, turning basics into standout pieces can be a fun and empowering experience.
Choosing the Right Basics to Start With Here are some basic items that are perfect for DIY projects:
- Plain T-Shirts: Start with plain t-shirts in neutral colors. These are perfect for DIY techniques like tie-dyeing, embroidery, or fabric painting.
- Denim Jackets: A classic denim jacket is like a blank canvas for creativity. Add patches, studs, or try distressing to give it a fresh look.
- Sneakers: Plain sneakers offer endless customization possibilities. Paint them, add unique laces, or even try embellishments to showcase your style.
- Plain Jeans: Basic jeans are great for DIY makeovers. Consider bleach dyeing, adding embroidery, or distressing them to create a unique look.

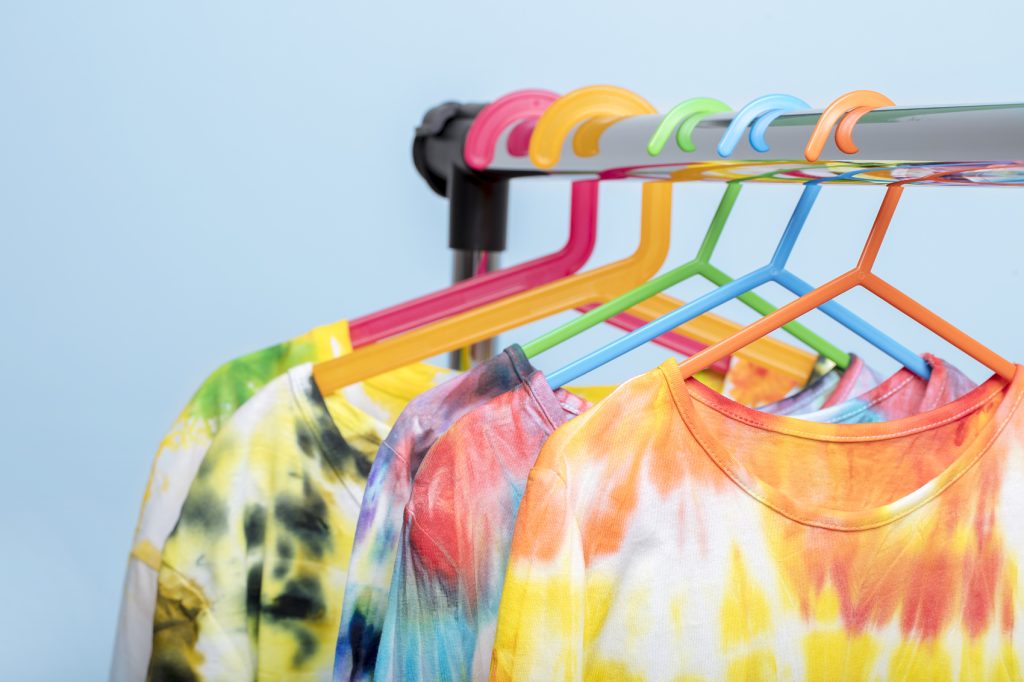
How to Tie-Dye T-Shirts Tie-dyeing is a simple and fun way to turn a plain t-shirt into something colorful and eye-catching. Here’s how to do it:
Materials Needed:
- Plain t-shirt
- Fabric dye in various colors
- Rubber bands
- Plastic squeeze bottles
- Gloves
- Plastic cover for your work surface
Steps:
- Prepare the T-Shirt: Make sure the t-shirt is clean and slightly damp, which helps the dye absorb better.
- Create Patterns: Twist, fold, or bunch the shirt and secure it with rubber bands. These folds will determine the tie-dye pattern.
- Mix and Apply Dye: Mix the dyes as per the instructions and apply them to different sections of the shirt, making sure each section is thoroughly covered.
- Let It Set: Place the dyed shirt in a plastic bag and let it sit for the recommended time to allow the dye to set.
- Rinse and Wash: Rinse the shirt under cold water until the excess dye is gone. Wash it separately in cold water to set the colors.
- Enjoy Your Creation: Once dry, your vibrant, tie-dyed shirt is ready to wear, showcasing your creativity.
Embellishing Denim Jackets Denim jackets are ideal for adding a personal touch, making a classic staple feel unique and tailored to your style.
Materials Needed:
- Plain denim jacket
- Iron-on patches or fabric glue
- Embroidery thread and needle (optional)
- Studs, rhinestones, or other embellishments
- Fabric paint (optional)
Steps:
- Plan Your Design: Think about the look you want to achieve. You can arrange patches, add studs, or even create a custom embroidery design.
- Apply Patches: Place iron-on patches where you want them and follow the application instructions. It’s a quick way to change the look of the jacket.
- Add Studs or Rhinestones: Use fabric glue or a stud-setting tool to attach embellishments. This step adds a bit of sparkle and personality.
- Optional Embroidery: If you’re handy with embroidery, add some custom stitching for a truly personalized touch.
- Experiment with Fabric Paint: Use fabric paint to add designs or patterns. Whether you’re painting freehand or using stencils, let your creativity flow.

Revamping Sneakers with Paint and Embellishments Plain sneakers can be turned into statement pieces with just a bit of paint and some decorative touches.
Materials Needed:
- Plain sneakers
- Fabric or acrylic paint
- Paintbrushes
- Painter’s tape (for clean lines)
- Glitter, sequins, or other embellishments
- Mod Podge or clear sealant
Steps:
- Prepare the Sneakers: Clean them thoroughly to ensure the paint adheres well.
- Design Your Look: Plan your design ahead of time. Use painter’s tape to help create clean lines or sections for different colors.
- Painting: Apply the paint using brushes or sponges. You might need multiple thin coats for vibrant colors. Let each layer dry before adding more.
- Add Embellishments: Once the paint is dry, add extras like glitter or sequins. Secure these with Mod Podge or a clear sealant.
- Seal the Design: Apply a clear sealant over the entire design to protect it and ensure it lasts.
Conclusion: Putting Your Stamp on Casual Fashion DIY casual fashion is more than just crafting—it’s about expressing yourself and embracing a sustainable, personal approach to style. By transforming basic items into statement pieces, you break free from the fast fashion mold and create a wardrobe that’s uniquely yours.
So, roll up your sleeves, get creative, and dive into the world of DIY fashion. You’ll end up with a wardrobe full of items that not only look great but also tell your personal story, one project at a time.


